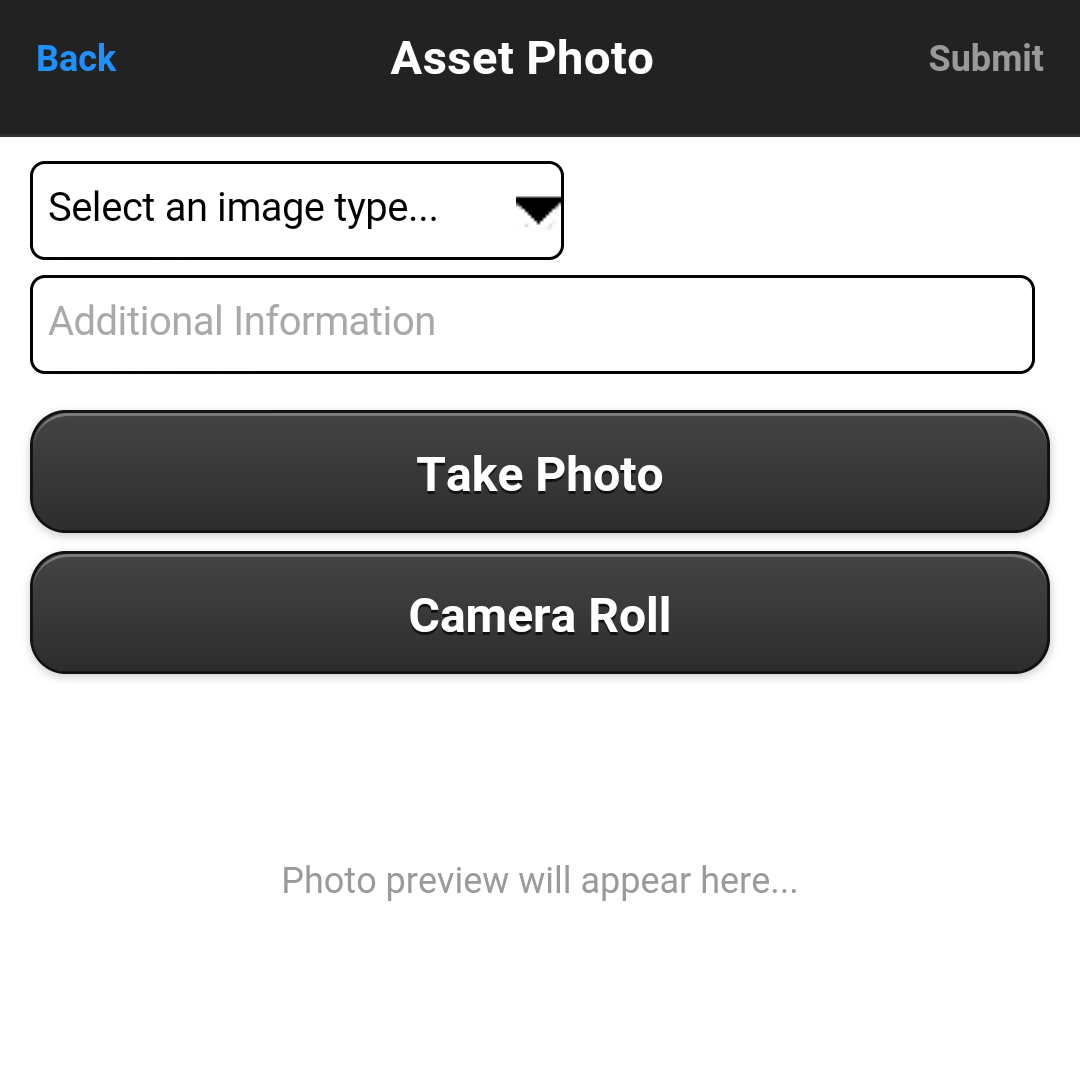
Tapping the "Take Photo" button from the actions list whilst on the Asset Detail screen will display the Asset Photo screen:
Please note an image type must be selected from the drop down menu, labelled "Select an image type...", standard options are:
Front
Back
Side- Left
Side- Right
Top
Bottom
Interior
These types denote the profile of the image that you are taking/uploading.
Once an image type has been chosen, to take an image, tap the "Take Photo" button, this will open the device's camera. Use the camera as normal to take a picture. Once a picture has been taken, two options appear at the top of the screen "OK" and "Retry". Tapping "OK" will move forward onto the Asset Photo screen, tapping "Retry" will open the camera again to take another picture.
To upload a picture already on the device, tap the "Camera Roll" button, this will open up the devices camera roll, allowing the selection of the desired image.
Once an image has been taken/selected a preview of the image will appear at the bottom of the screen. If the image is acceptable, tap the "Submit" button in the top right hand side of the application.
To discard the image, tap the "Back" button in the top left hand corner of the application.
Once all sections are complete, tap the "Submit" button in the top right hand corner of the application. To abandon the creation of this Asset, please tap the "Back" button in the top left hand corner.